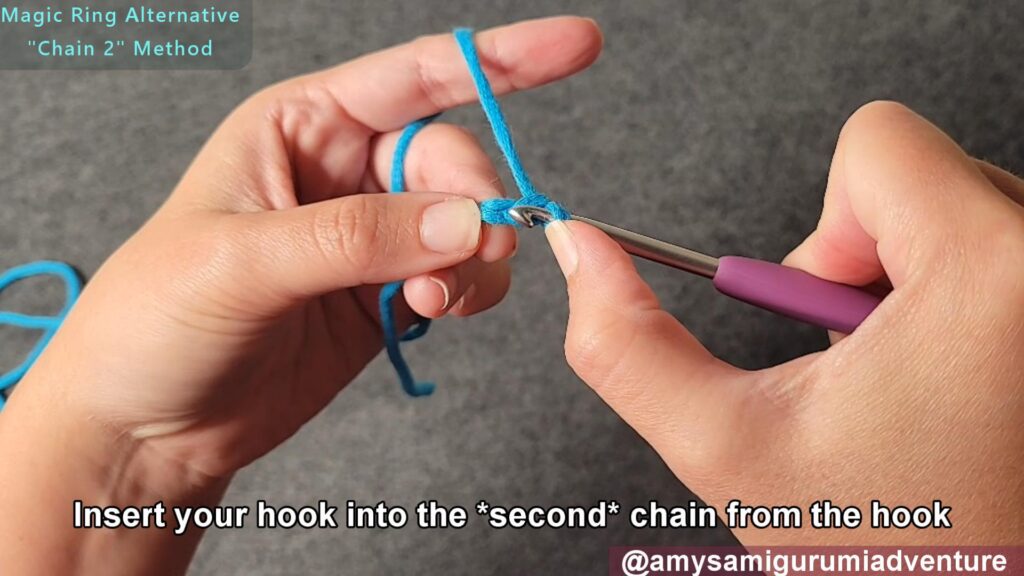
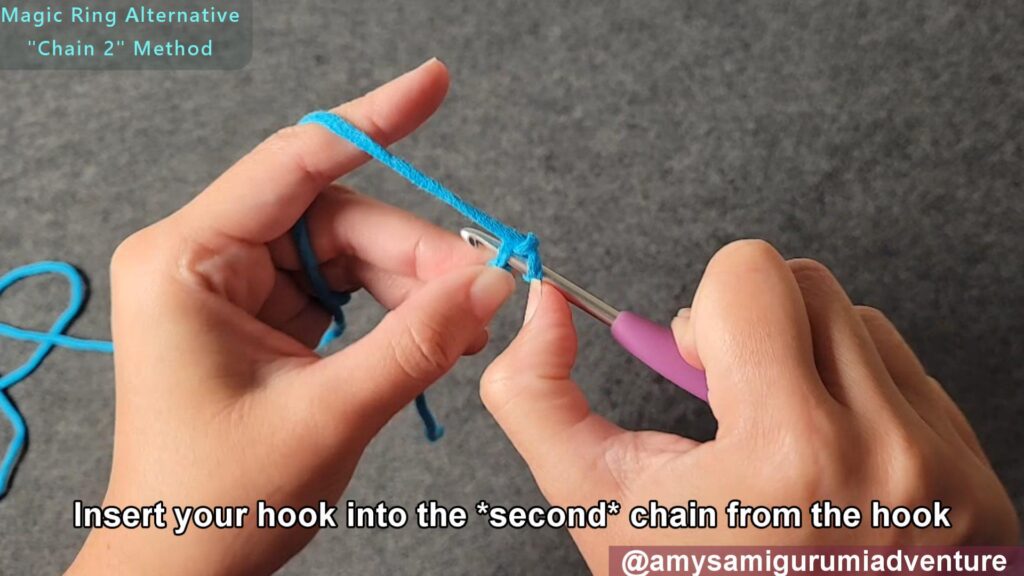
For flat crochet pieces like carves and baby blankets, you start with a foundation chain. But for amigurumi, you start most pieces with the magic ring. But the magic ring is the bane of most amigurumi beginners’ existence. The magic ring is more difficult than all other beginner stitches, yet you have to create one to even practice the other basic stitches. I mostly avoided doing the classic magic ring for the first six months and stuck to this magic ring alternative. Then, one day, I picked up my hook and tried to do the magic ring and was fine. It turned out that once I had mastered other basics, what had seemed impossible no longer was. So if you’re struggling, start here with the “Chain 2 Method” Magic Ring alternative, and stay here as long as you want.
This video will take you through all the steps. Below I give you tips for each step.
Step 1: Make a slip knot.
This video is a slow step by step overview of how to create your starting slip knot. Skip to Step 2 if you already know how.
Step 2: Chain 2 (make two chains)
This video slowly shows you how to create the chain stitch. I also have a separate stitch tutorial page for this. For the purposes of the maigc ring alternative, you only make two chain stitches, and not the eight chain stitches in this video. Skip to Step 3 if you already know how.
Step 3: Working into the second chain from the hook, make six single crochet stitches


One thought on “How to make the Magic Ring Alternative”