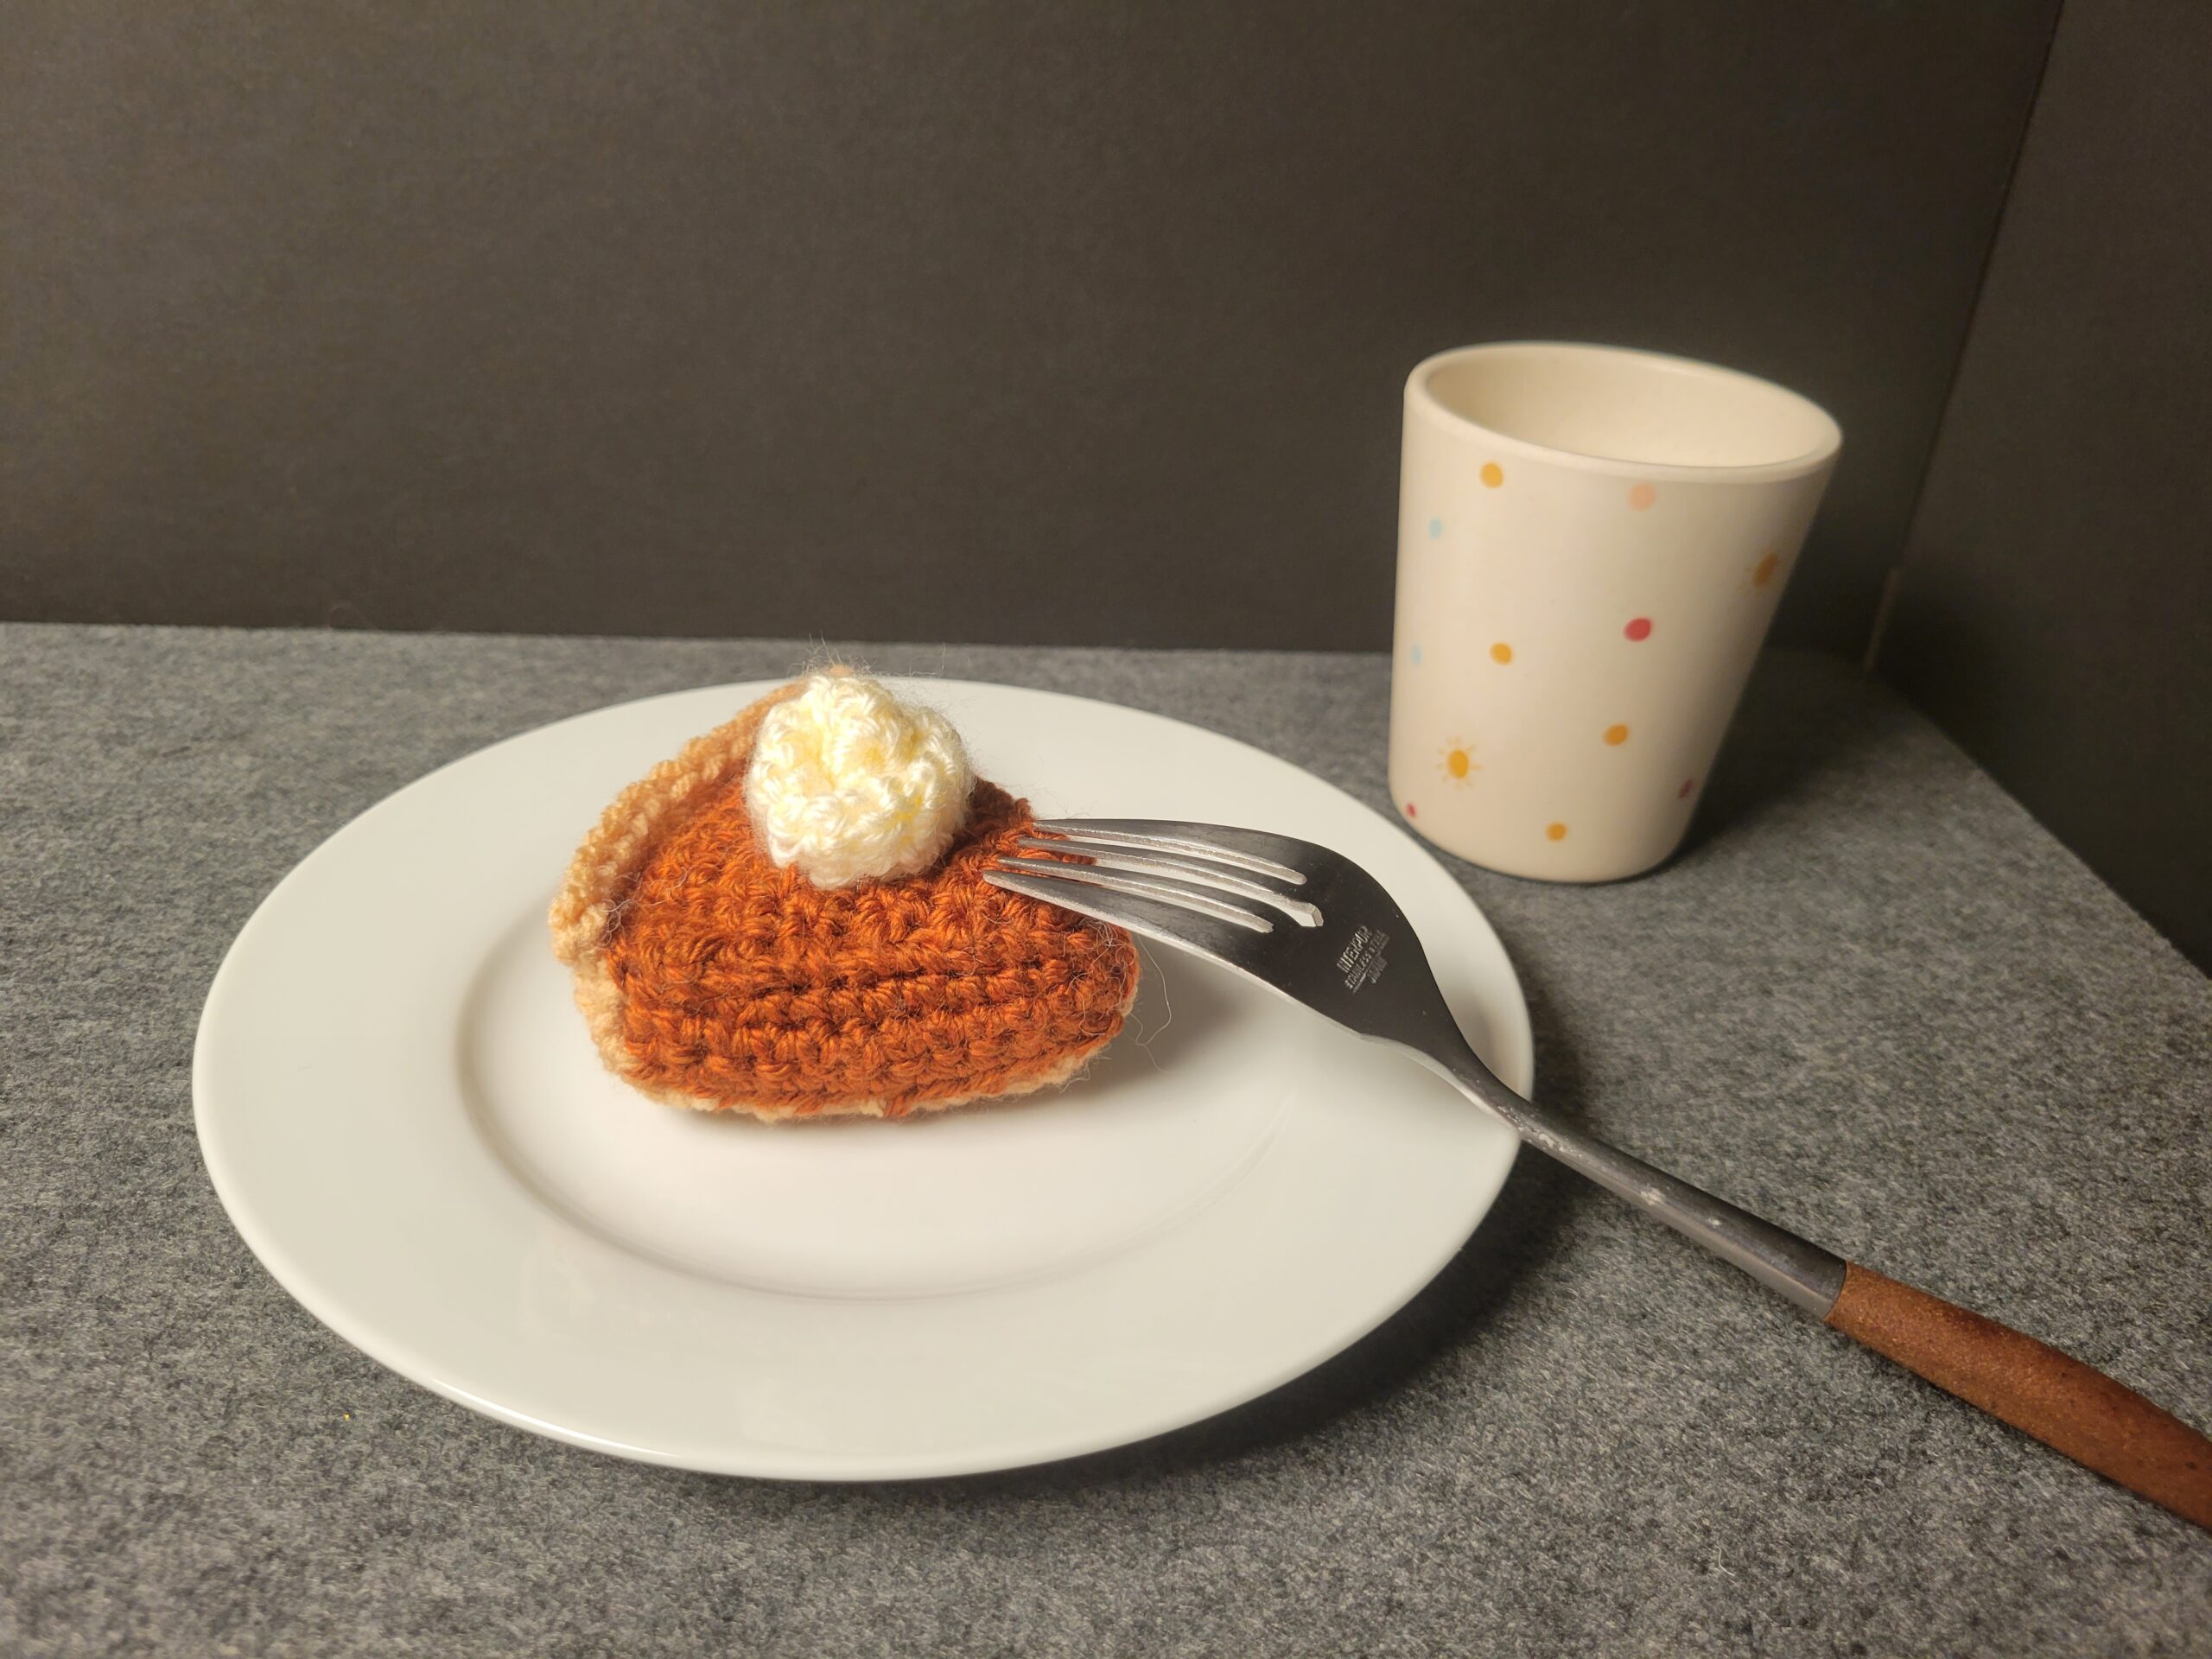
This free crochet pumpkin pie slice pattern with whipped cream crochet amigurumi pattern is designed for beginners to amigurumi. The techniques for the pumpkin pie slice are all techniques used to make flat pieces like blankets or scarves, while the whipped cream introduces beginner techniques to making round pieces. I hope you’ll find this to be a sweet adventure. I have a Youtube Video that goes over how to make the entire piece if that’s helpful, and I’ve annotated below links to help with interpreting instructions. If you have any questions, feel free to drop a comment and I’ll get back to you.
Please do not redistribute my pattern or share screenshots of it. Feel free to sell finished creations to your heart’s content.
This is a video of the entire pattern from beginning to end:
Difficulty: Beginner
Yarn Used:
Worsted (weight 4) yarn:
Brown yarn: Red Heart Super Saver in Buff
Orange yarn: Lion Brand Heartland Yarn in Yosemite
White yarn: Caron Simply Soft Yarn in White
Stitches Used & Glossary:
Ch = Chain
SC = Single Crochet
INC = Increase Stitch
MR = Magic Ring — the default or the alternative
DEC = Invisible Decrease Stitch
2nd Chain from hook:
Ch 1 & Turn:
Pumpkin Pie
Pumpkin Pie Crust
The ch1 in the “ch 1 & turn” doesn’t count as a stitch
- Ch 2, Inc in 2nd Chain from hook [2]
- INC X 2 [4]
- SC 4, ch 1 & turn [4]
- INC, SC 2, INC, ch 1 & turn [6]
- SC 6, ch 1 & turn [6]
- INC, SC 4, INC, ch 1 & turn [8]
- SC 8, ch 1 & turn [8]
- INC, SC 6, INC, ch 1 & turn [10]
- SC 10, ch 1 & turn [10]
- INC, SC 8, INC, ch 1 & turn [12]
- SC 12, ch 1 & turn
- [Back Loop Only: SC 12], ch 1 & turn [12]
- SC 12, ch 1 & turn [12]
- SC 12, ch 1 & turn [12]
- SC 12.
Fasten off.
Top of Pie Panel
The ch1 in the “ch 1 & turn” doesn’t count as a stitch
- Ch 2, Inc in 2nd Chain from hook [2]
- INC X 2 [4]
- SC 4, ch 1 & turn [4]
- INC, SC 2, INC, ch 1 & turn [6]
- SC 6, ch 1 & turn [6]
- INC, SC 4, INC, ch 1 & turn [8]
- SC 8, ch 1 & turn [8]
- INC, SC 6, INC, ch 1 & turn [10]
- INC, SC 8, INC, ch 1 & turn [12]
- SC 12, ch 1 & turn
- SC 12 [12]
Side Panel
The ch1 in the “ch 1 & turn” doesn’t count as a stitch
- Chain 12. [12]
- Working into 2nd chain from hook, SC 11, ch 1 & turn [11]
- SC 11, ch 1 & turn [11]
- SC 11 [11
Fasten off.
Pie Assembly
You can assemble it in whatever order you want, but this is what I did:
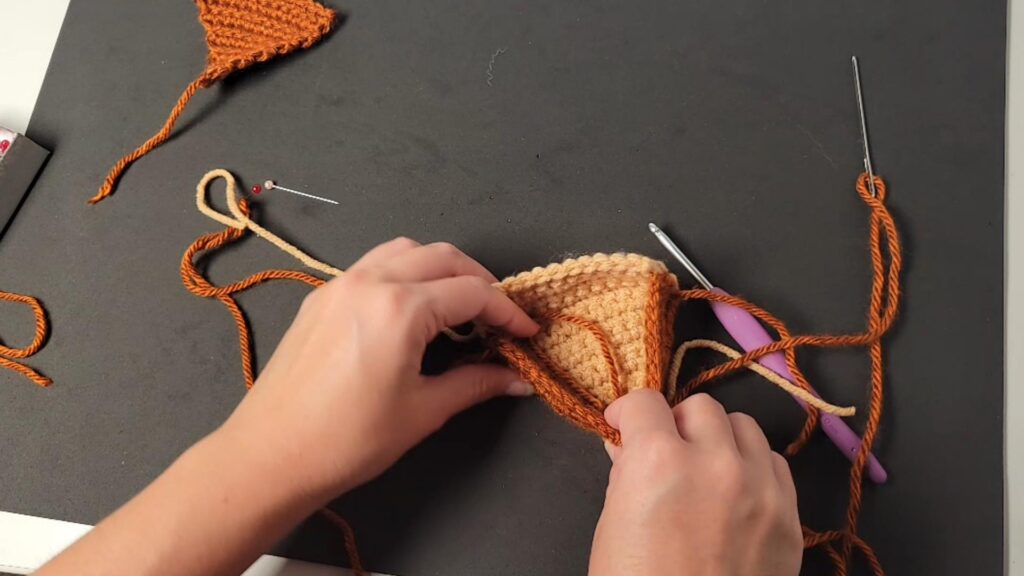
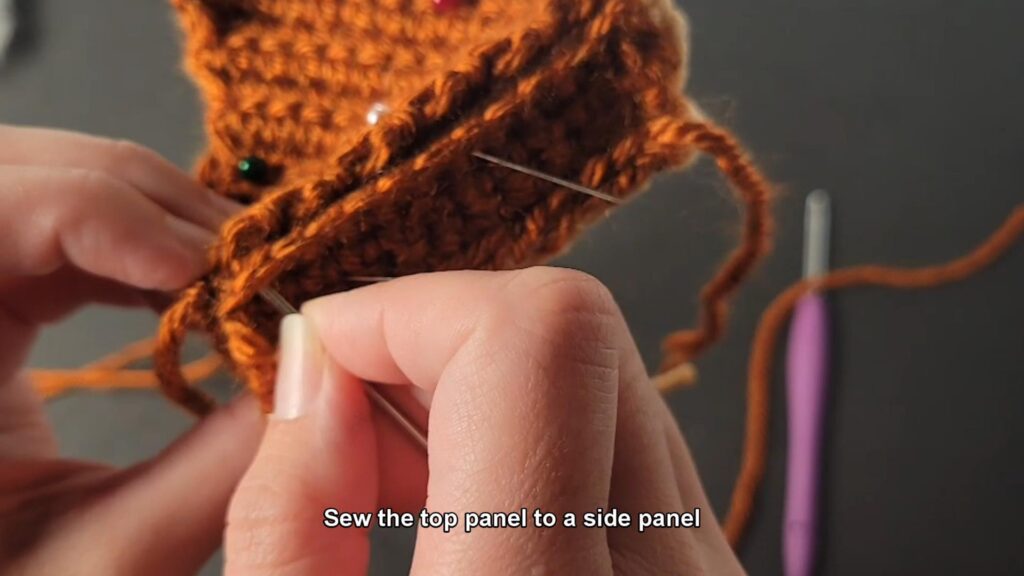


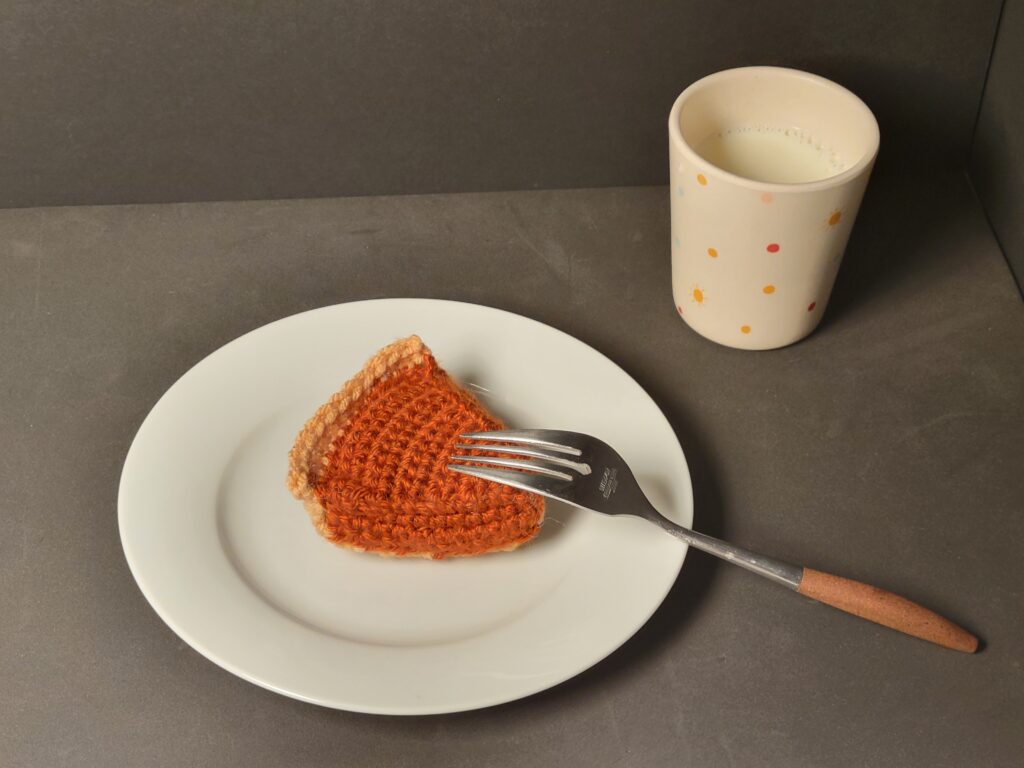
Voila! You have a pumpkin pie slice. You could stop here, or you could add whipped cream for a challenge.
Whipped Cream
- MR SC 6 [6]
- SC 6 [6]
- SC 6 [6]
- SC 6 [6]
- SC 6 [6]
- SC 6 [6]
- SC 6 [6]
- SC 6 [6]
- SC 5, DEC [5]
- SC 5 [5]
- SC 5 [5]
- SC 5 [5]
- SC 5 [5]
- SC 5 [5]
- SC 5 [5]
- SC 5 [5]
- SC 5 [5]
- SC 5 [5]
Assembly


